How To Jumbo Flat Twist► Natural Hair Protective Style with Clip ins

Hey curlfriends and welcome back!
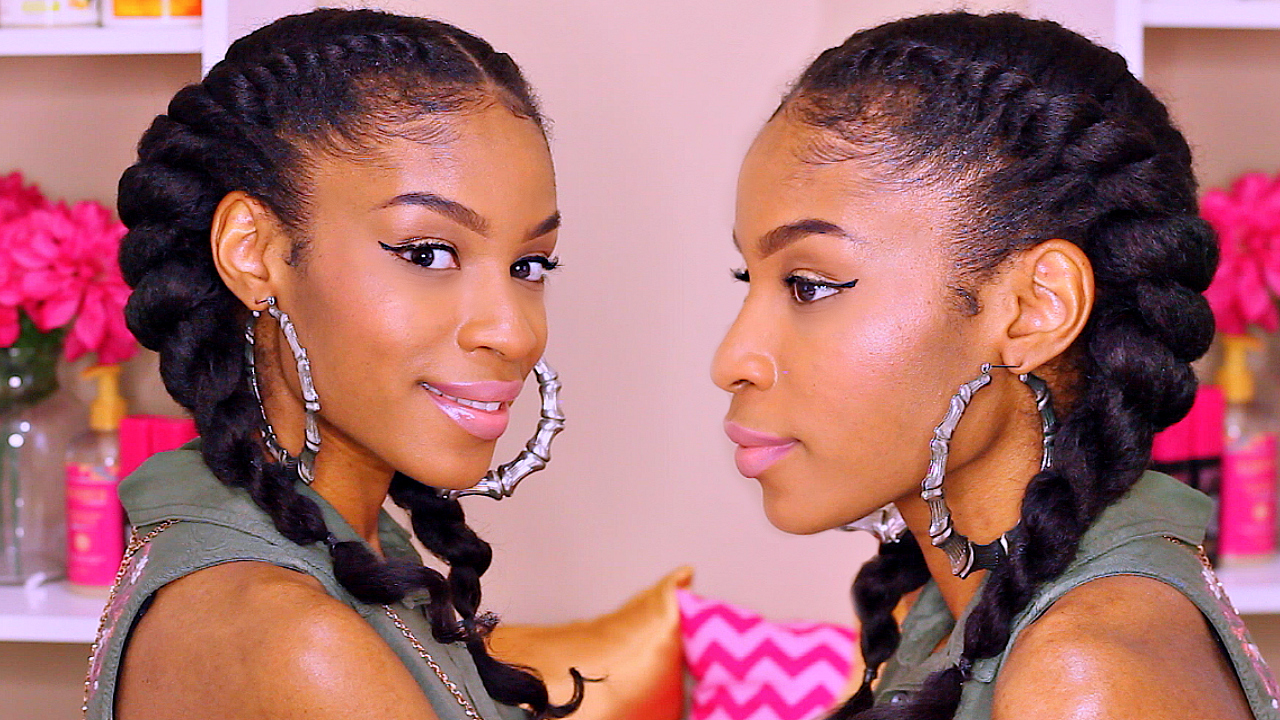
In today's tutorial, I'm going to show you guys how to create these jumbo flat twists with clip ins.

To start off this protective style, we're starting off on stretched hair.
Stretched hair is the best hair to work on for a style like this.

I just went ahead and took down my 4 cornrows that I had from wash day, oiled down my scalp now I'm going to go ahead and split my hair straight down the middle all the way down to the back.
Taking this section by section, I'm going to start off with that left side first.
I took it way back and busted out my Luster's Pink Lotion to moisturize my hair. Grabbing my Natural Boss Lady Kinky Straight Clip Ins; I went ahead and grabbed 6 clips for this hairstyle. This is one full 18" set.

I went ahead and split that section straight down the middle. I'm going to go ahead and clip these clip ins into place. I don't want it to be too close to the front for it to show, not too close to the back and I want enough hair on either side to cover these clips.
I started off with the longest piece first and I'm going to follow up with my two shorter pieces.

I'm not adding in my clip ins for a fuller look. I just want to add a little bit more length to flat twists. My hair is extremely thick and it's already reverting so it's harder to get the length to show. These clip ins are literally just being used to add on length not any kind of thickness whatsoever.

Grab a styler of your choice. I'm using this Sexy Hair ultra curl creme. I love this creme. It has a really great hold without any crunch to it. I'm just basing the entire section from front to back, to the bottom half of my hair that way I can go ahead and flat twist and it stays in place without too much frizz.
I'm just taking two pieces of hair and two strand twisting, then I'll just be adding in hair as I go. I'll take a strip of hair, add it it in on either side and continue twisting all the way through. It's really easy guys.
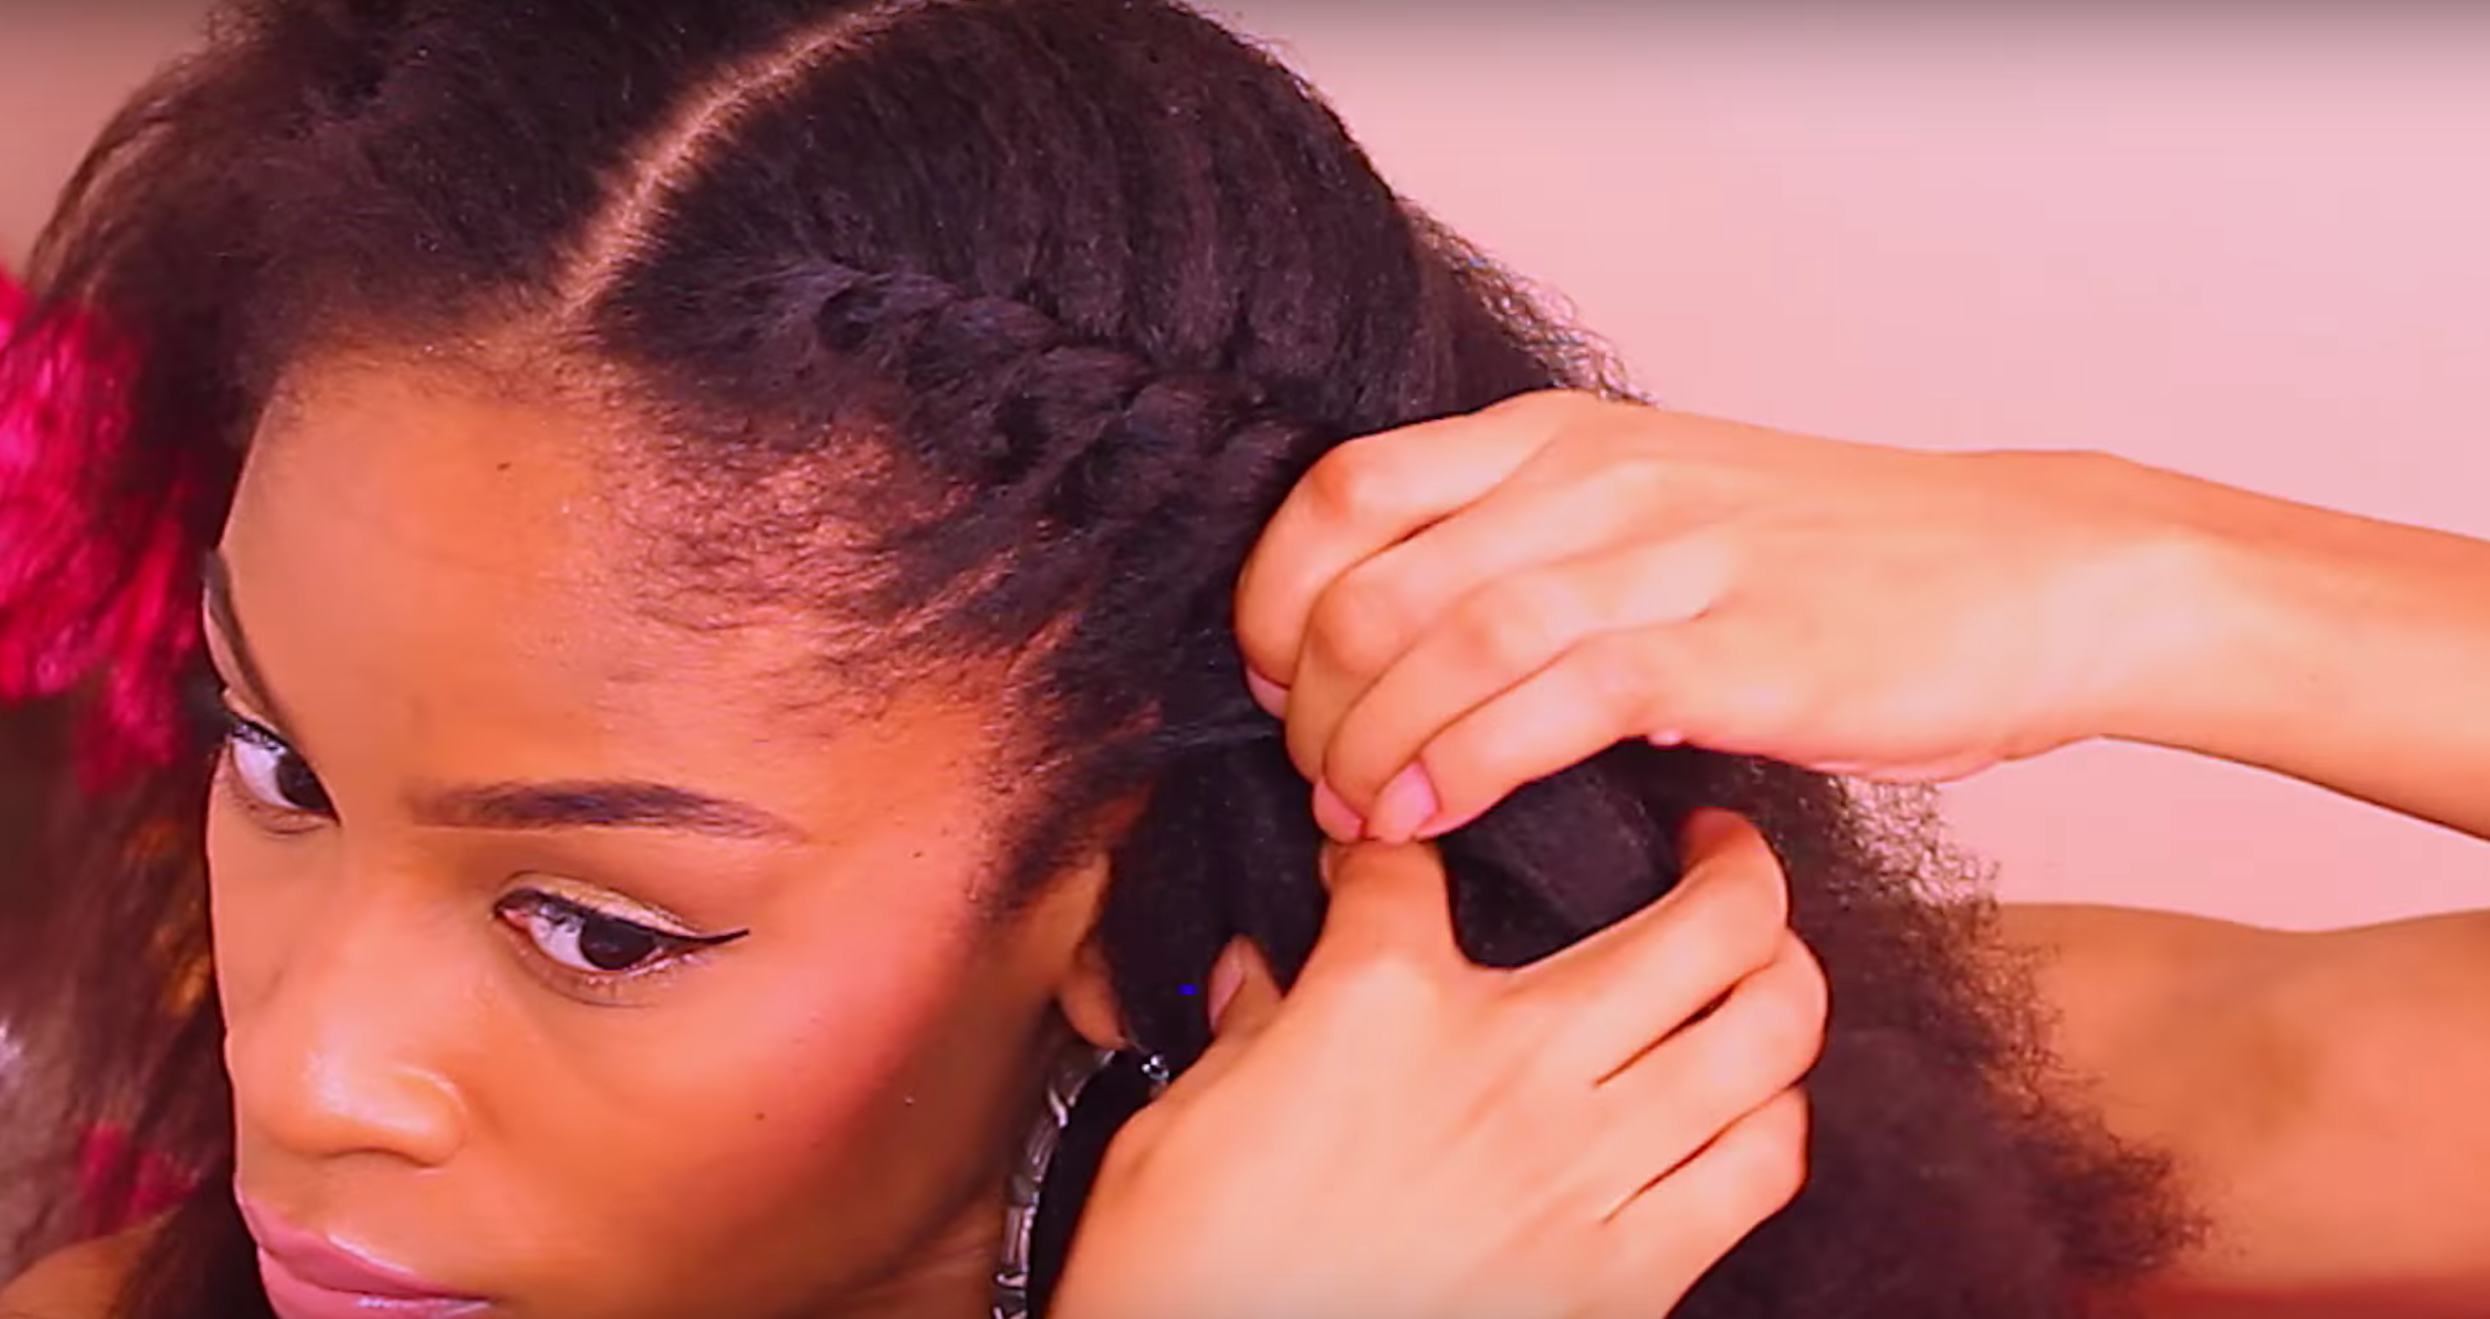
So you're just two strand twisting and adding hair from either side. Because we laid our clip ins the long way, it's not going to show whatsoever. Had we laid it horizontal, it would definitely would've shown. But we laid it nice and vertical (up and down) so it's pretty much seamless. You can't even tell that there's clip ins in between this hair. Our first flat twist is complete.

We can go ahead and move on to the opposite side doing the same exact thing.
When I get to the end, I'm going to leave some hair out because I want to curl the ends. I just used a rubber hair elastic to hold everything in place. I'm using this olive oil ORS edge control. It did not do much for my edges so I decided to put some Eco Styler on top of that. For some reason, I loved the combination together. I'll have to do a separate video showing you guys what it's like. For some reason it was a lot more pliable. I could mold my edges exactly how I wanted them to lay without the crunch, if you know what I mean.
I'm following up with this finishing spray, it's like a hair polish with olive oil in it. The hairstyle is pretty much complete.


You could walk out just like this. But I'm going to take this a step further and add in some Macadamia heat protectant and wand curl the ends for a more realistic look. I have naturally thick hair so I felt like the curled ends would fit my face and my hair texture a lot better.
I'm pretty much just curling the ends, nothing too major. I'm keeping it towards the end of the wand to get more of a tighter curl.
I really hope that you guys enjoyed this jumbo flat twist natural hair protective style with clip ins. I love you guys. Let me know what you guys think in the comments below and I'll see you guys in the next one!